By the end of this you'll have an active reseller dashboard, a verified profile, and a credit card on file. Roughly five minutes.
The Path
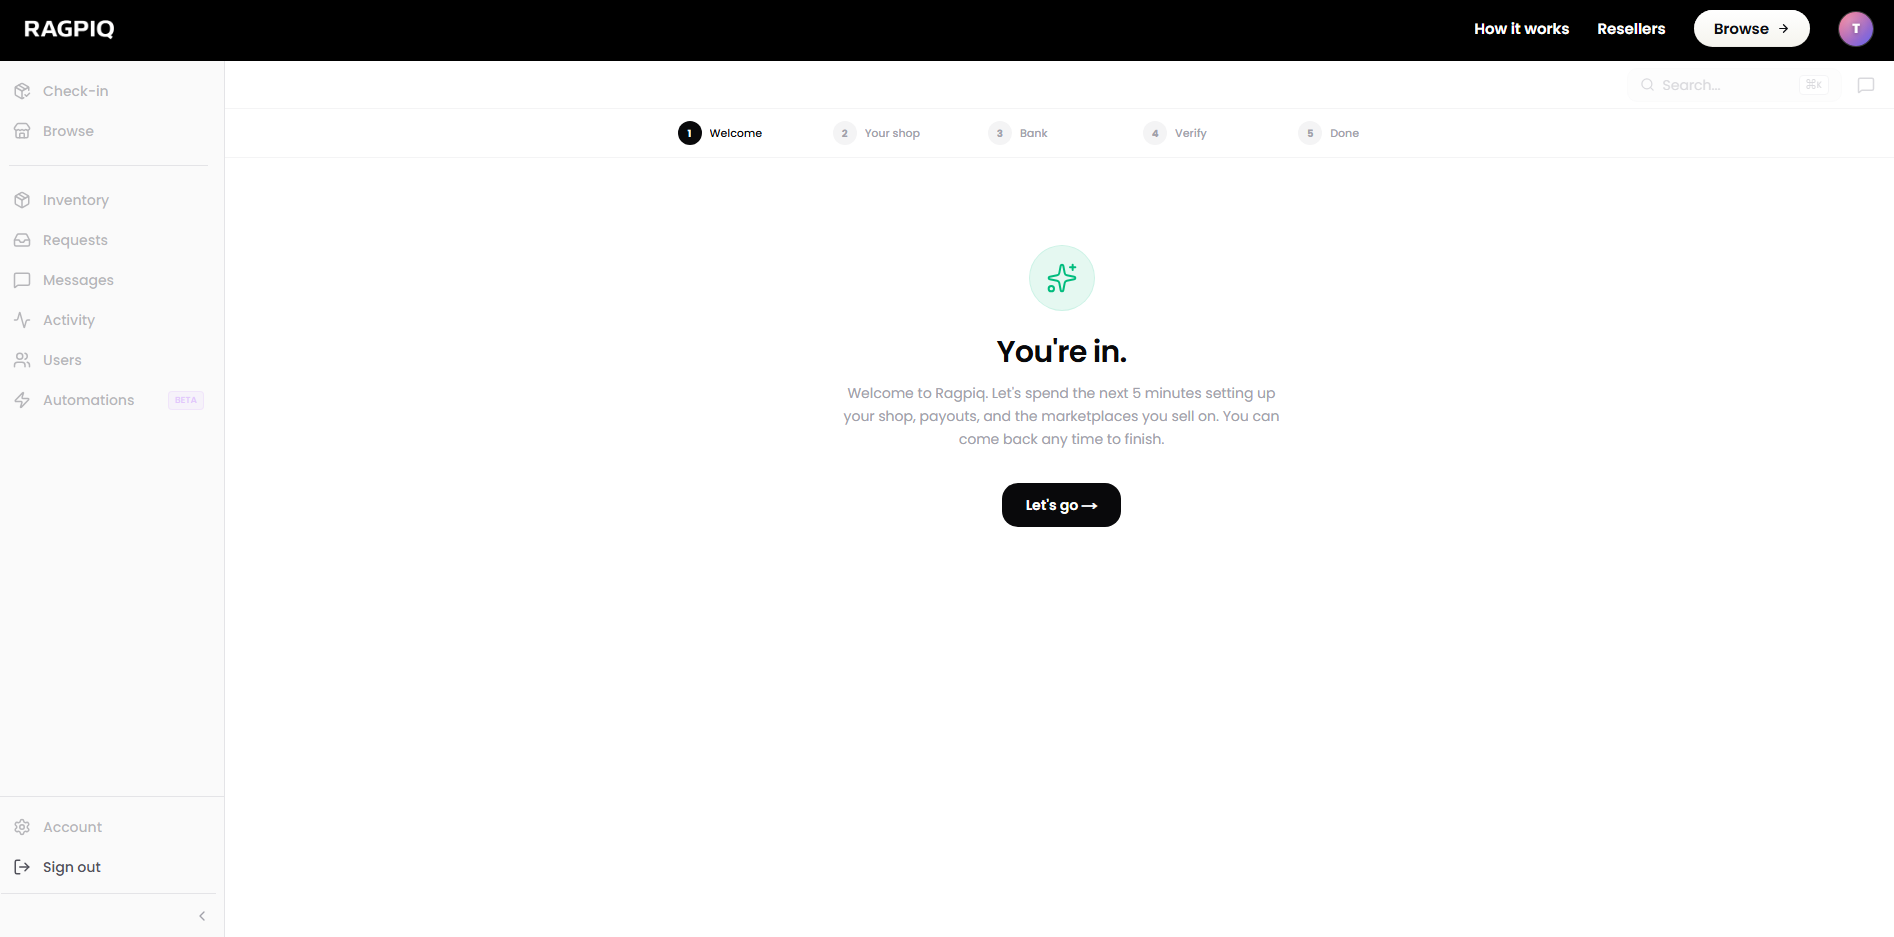
1. Sign in to your dashboard
Use the link in your approval email, or open the business dashboard directly.
Open your business dashboard
Sign in to start the onboarding flow.
2. Complete your shop profile
Add your shop logo (square, 1:1), your shop name, and your shipping address. The details you enter here are what consignors see when you appear in their reseller list and what shows on your public shop page.
See Complete Onboarding for what each field is used for.
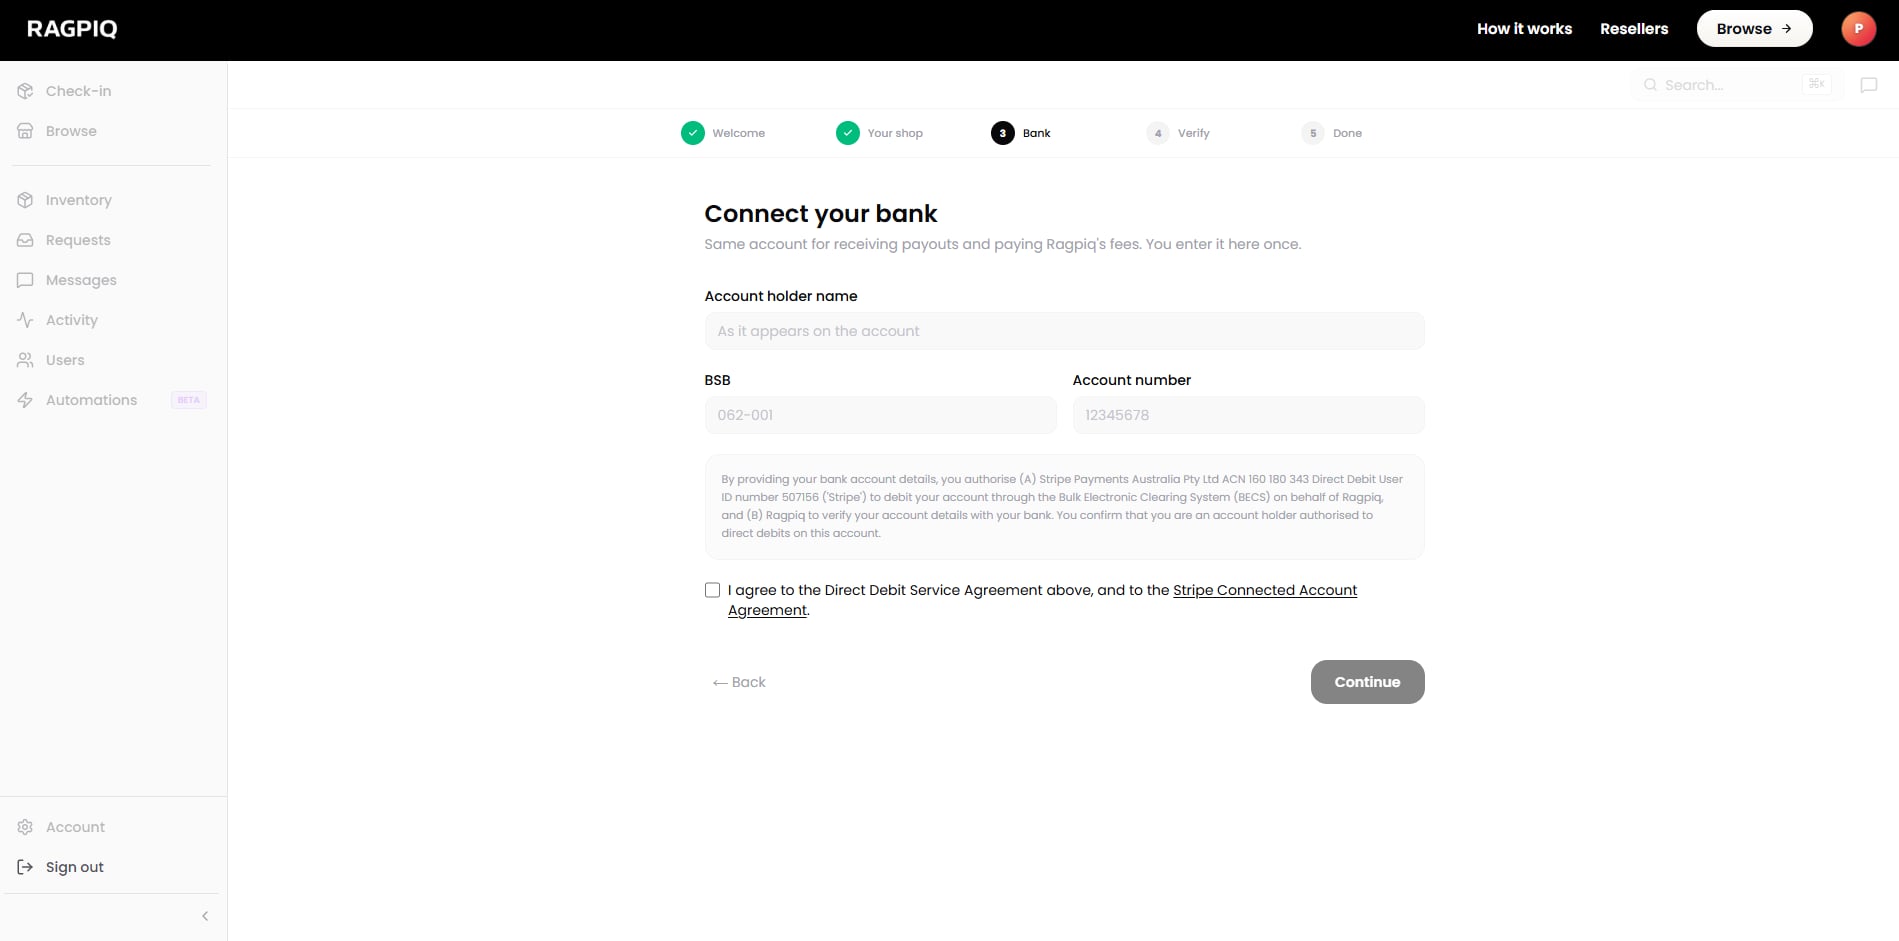
3. Verify with Stripe Connect
Required to receive payouts and process consignments. You'll verify your identity (or ABN), link a bank account, and accept Stripe's terms. Verification usually completes in a few minutes. Identity-check edge cases can take longer.
You don't have to wait. You can keep going (List Your First Item, Get Your First Stock) while Stripe runs in the background.
4. Add a credit card
Used to pre-pay for shipping labels and to fund consignor payouts when a sale lands. Stored with Stripe. Ragpiq never sees the card number.
That's the full base setup.
Suggested Next Steps
- Connect to a marketplace: start cross-listing to eBay, Shopify, Depop, and Facebook Marketplace.
- Send your first offer: pick a consignment from your inbox or the public marketplace and pitch the consignor.
- Invite a team member. Open your business dashboard → Account → Team → invite by email. Teammates share platform connections and inventory access.