Sync Sales pulls sale events out of your connected marketplaces and into Ragpiq so the same item can be delisted everywhere and the consignor paid in the same flow.
Open Automations
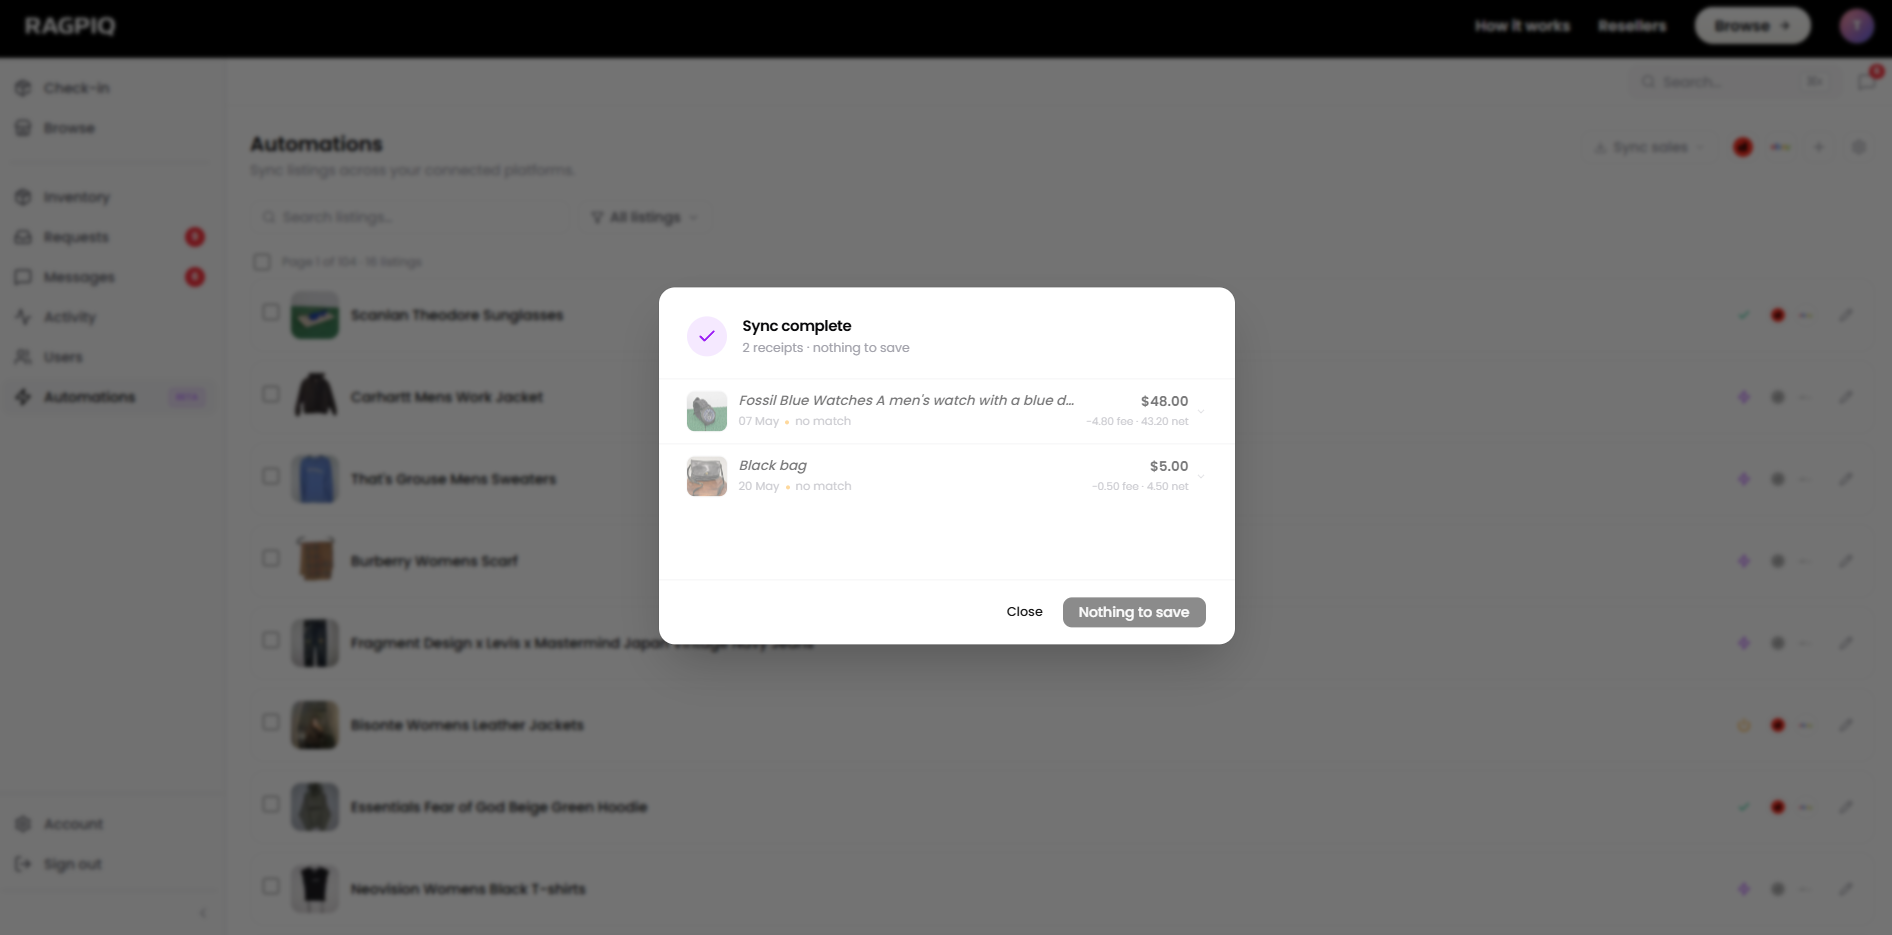
Run a sync from the Sync tab.
How to Sync
One button covers every connected marketplace:
- Open Automations → Sync and click the Sync button in the top-right.
- Pick the platforms you want to pull from (eBay, Shopify, Depop, Facebook).
- Set the start date. Anything sold after this date is included. After your first sync, the date auto-advances to your last run.
- Run the sync. Sales appear in the list as they're detected.
- Confirm the sync. Review the list and hit Confirm Sales. Anything attributed incorrectly can be removed with the - icon first.
Date auto-advances
After each sync the start date moves forward to the time of your last run, so you only ever pull the new window, with no duplicate sales.
What Happens After
For each confirmed sale:
- The original listing moves to the Delist bucket. It's waiting for you to pull it from the other marketplaces. See Delist Listings.
- The sale is marked Pending Payout if it's a consignment, waiting for you to pay the consignor their share when you're ready.
- Your own stock is marked Complete automatically, with no payout step.